A Step-By-Step Guide to Dental Bridges
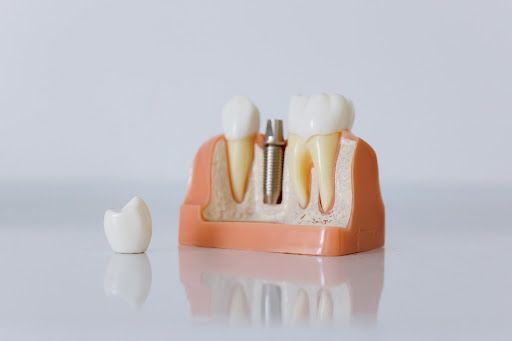
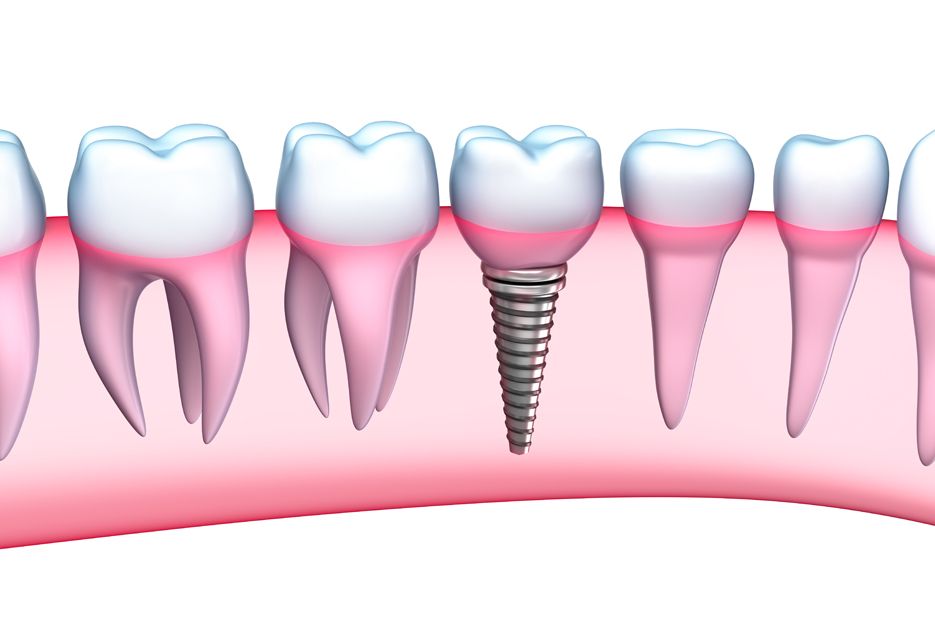
Dental bridges are a great option for people looking to restore their smile after losing a tooth. Your natural teeth can be replaced with dental crowns using a dental bridge held in place by dental implants or surrounding healthy teeth. Pontics, which are false teeth attached to bridges, are typically composed of alloy materials, metals fused with ceramics, gold, or porcelain.
Understanding what happens before, during, and after getting dental bridges can help you learn more about this treatment and decide if it is a good choice. This article breaks down the process of getting dental bridges into a step-by-step guide to ensure that each step is carefully detailed. Read on to learn more about dental bridges in Westport.
Dental Bridges: A Step-By-Step Guide
Placing dental bridges is a reasonably easy process that can be successfully finished in a few clinic appointments. The frequency of visits to your dentist’s office will vary depending on the circumstances.
The procedure for dental bridges involves the following steps.
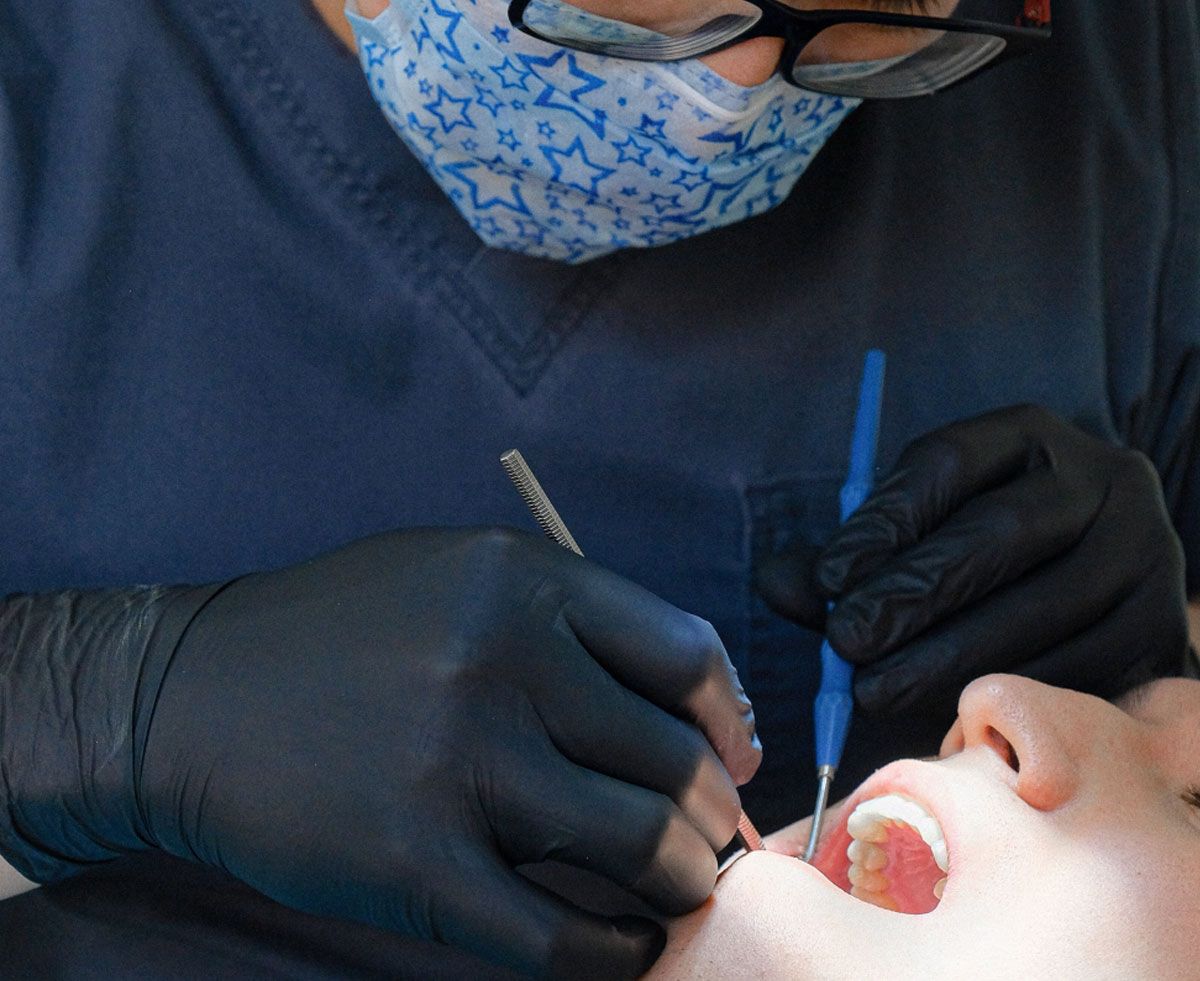
- Step 1 - Initial consultation: This occurs during the first visit. Your Westport dentist will perform an examination and recommend a dental bridge or crown procedure.
- Step 2 - Preparation, obtaining impressions, and fitting temporary prosthetics: This occurs during the second visit. The region will be numbed, and your dentist will remove any decay. Your dentist will then shape the nearby teeth that will be the bridge's support teeth. Impressions of your teeth will also be obtained and sent to the lab to help create the final prosthetics. A provisional prosthetic bridge will be made at this point and placed right away to safeguard your freshly prepared abutment teeth. Using a shade reference and natural lighting, your dentist will choose the appropriate color of crowns. The color that most closely resembles the teeth next to your missing teeth will be decided by you and your dentist. You will wear the temporary bridge for a few days while strictly adhering to food and oral hygiene instructions. You'll be instructed to brush, floss, and clean temporary dental prosthetics. Plaque control is crucial, and you must inform your dental office immediately if the temporary restoration falls off before your next appointment.
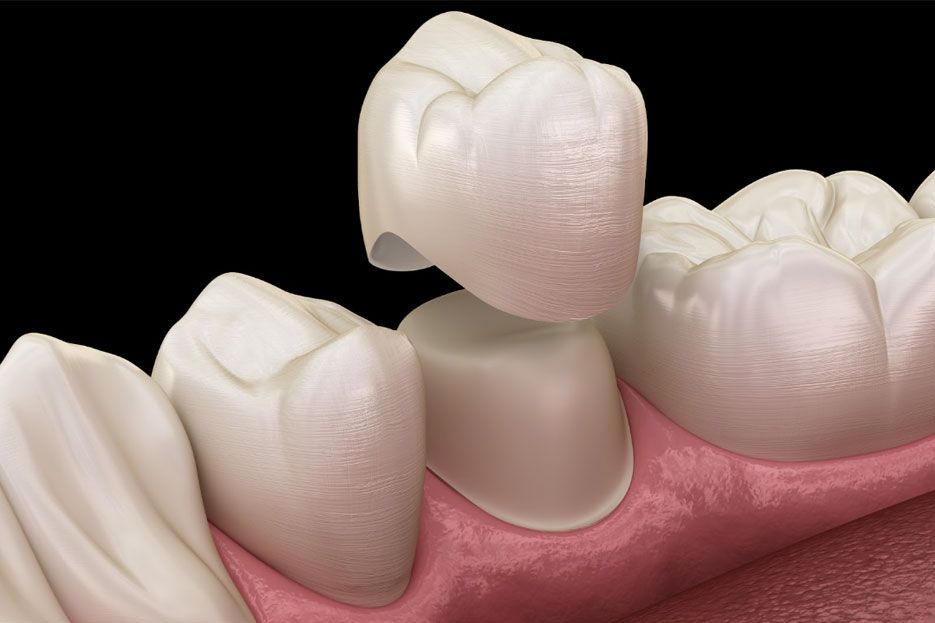
- Step 3 - Final Cementation: At your third appointment, the temporary restoration will be removed, and topical anesthesia will be applied to your gums to lessen the pain of the actual anesthetic injection. Your temporary restoration prosthesis is removed at this stage. If any temporary cement is still present, it will be cleaned up to ensure that the area remains clean for your permanent bridge. The permanent restoration is tried on to see if it has a perfect bite and fit and matches the appearance of adjacent teeth. If you are satisfied with the restoration, permanent cement is used to seal it. The dentist must adequately cement the inner surface of the abutment for it to adhere effectively to your teeth. You'll need to wait till your dentist is fully confident that everything is functioning properly. As soon as the prosthesis is in place, you will be instructed to bite down steadily until the dental cement has dried. The permanent cement comprises high-tech, quickdrying ingredients, which will only take a few minutes. When the cement has solidified, your Westport dentist will remove any extra cement and carry out one final check. This will be your final visit unless your dentist requests a follow-up appointment in a few weeks.
There are several steps to getting dental bridges, and the entire process requires multiple visits. Once you've gotten your dental bridges, you can enjoy the benefits of having complete teeth. Get in touch with Distinctive Dental Care today to learn more about dental bridges in Westport.